Everyone love a little text styling once in a while; there are various ways you can change the typeface/font of textView in your Android app, however the most simplest one is changing the typeface programmatically by applying a font to a specific textView. Although this method is simple, it requires applying the font to each textView in which you require that font. So, if you want the same font in all the Activities, you will have to provide the reference to the typeface and then apply the font manually to all the TextView, and as I am lazy, I try not to write repeated code. So in this tutorial, we will learn how to apply custom font to the TextViews in all the activities! Not only that, we will also learn how to change to font of a textView directly using XML, no java. 😀
This is Old, Use this Much Easier and Better method now: Custom Fonts in XML Support Library
Here’s the tutorial video if you prefer Videos:
Spoiler : We will do it using our own custom textView class.
In case you are want to apply custom font to only 1 textView, you can do this easily :
Typeface my_custom_font = Typeface.createFromAsset(getAssets(), "fonts/font_name.ttf");
myTextView.setTypeface(my_custom_font);
In the code above, we refer to font_name.ttf that is inside the fonts folder in assets folder, and then we apply it to myTextView. So now the text in myTextView will have font_name.ttf font applied.
In case you prefer Videos : Set custom font in all the activities Tutorial.
Source Code : At the Bottom of the post.
Okay now let’s move on to applying custom font throughout the activities.
First create a new project, give it any name. I call it theFreakyText 😛 .
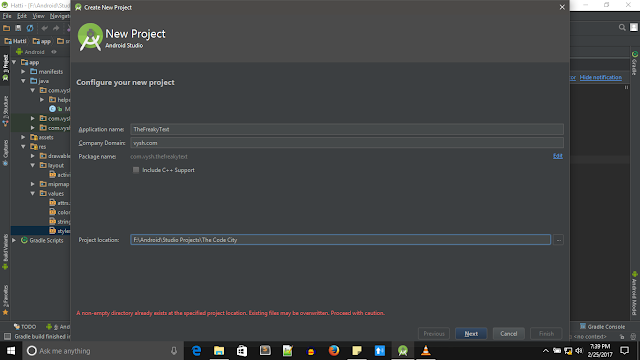  |
| New custom font project |
The next step is to choose the Minimum SDK version. It just specifies the lowest Android version that you app supports. I just chose 21 for now. You can choose lower or higher depending on your requirements.
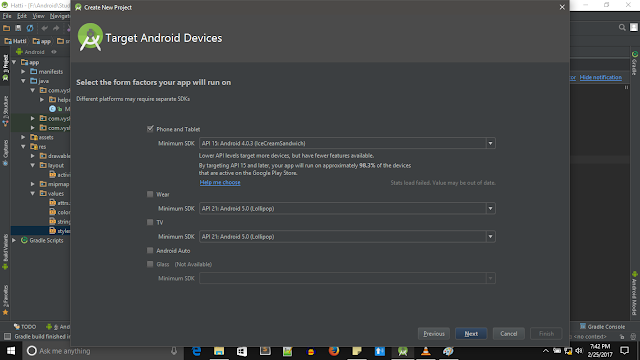  |
| Minimum SDK for custom font project |
Once you’ve chosen the Minimum SDK version, you will see an Activity selection screen like below. You can either choose add no activity, then you need to create your own activity. I chose Empty Activity, so choose empty activity for this tutorial.
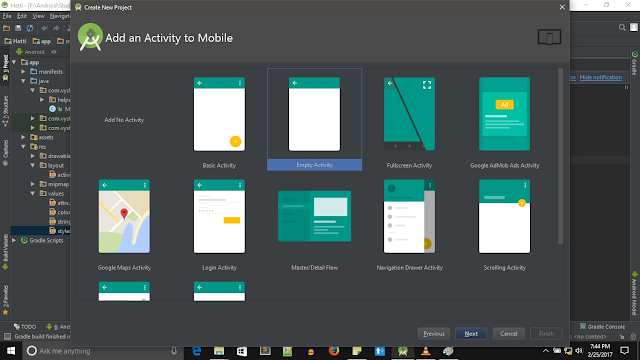  |
| Empty Activity for our TypeFace project |
The default name is MainActivity, you don’t need to make any change. If you wish to you can.
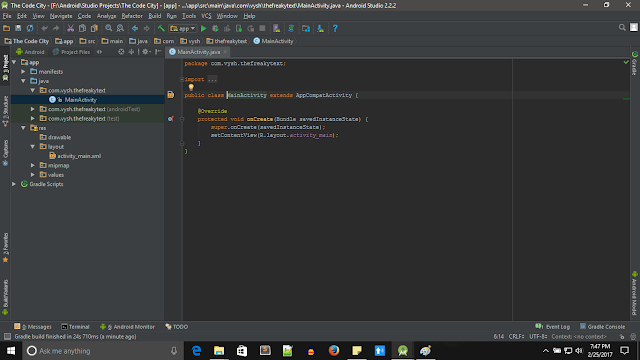
After you’ve chosen the name and clicked on finish, you have created an empty Activity and you will see a screen similar to this. This is the MainActivity, extend AppCompatActivity for Support to lower versions if you want.
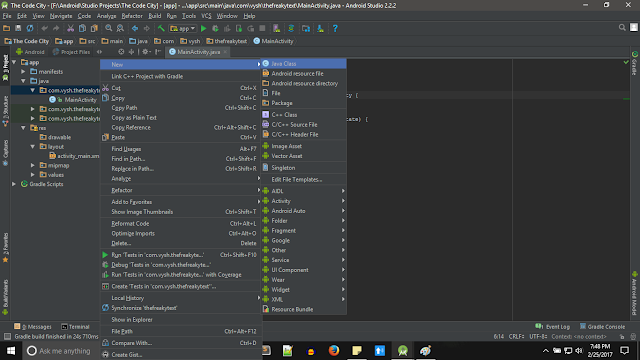
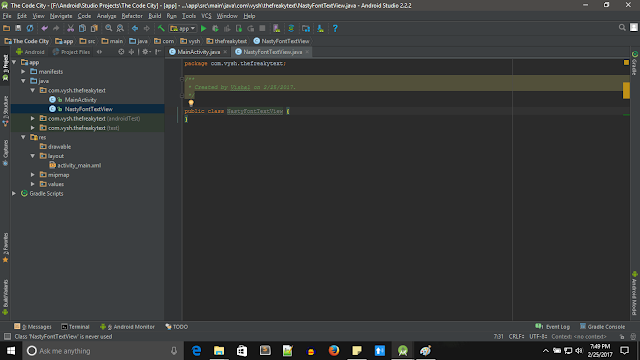
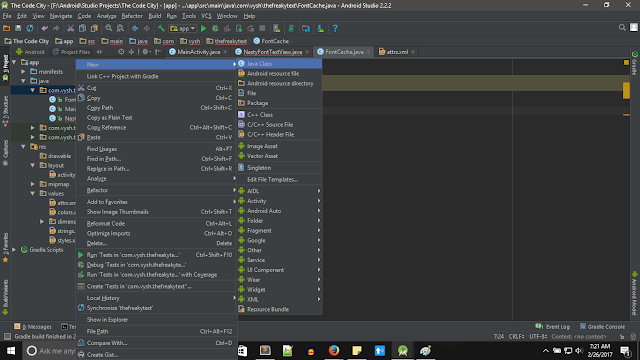
Now create a new class. This class will contain the code related to our custom font textView
I’ve named the class NastyFontTextView :D. You might want to use a different name 😛
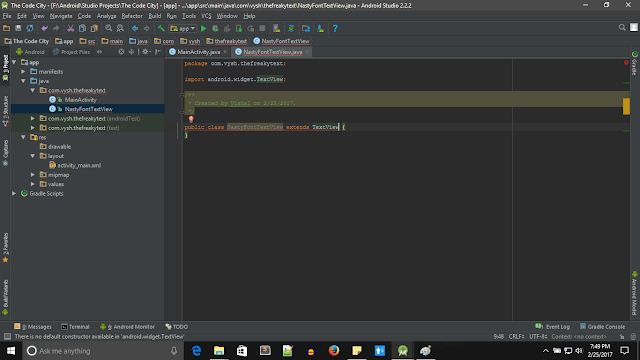
Since we are creating a custom TextView class, we need to have all the properties of textView. So extend the regular TextView.
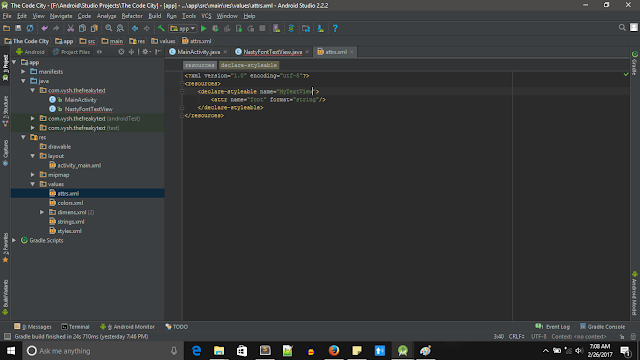
Since we want to set custom font using XML, we need to create an attribute using which we will define the typeface for a particular textView. So create a new attrs.xml inside you values folder. We will later use this attribute to define the font for the textView.
Write the code shown in the screenshot below. This is doing nothing but just adding an attribute to the class MyTextView. We can use this attribute in XML to define custom font.
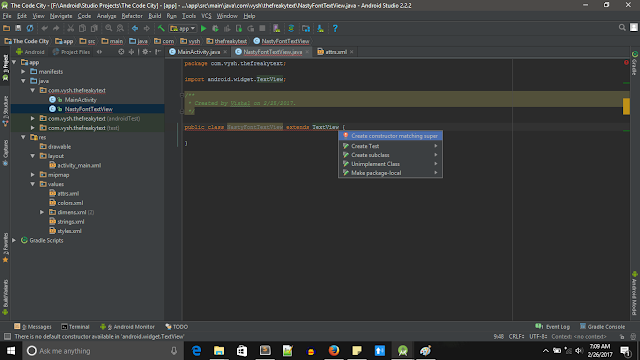
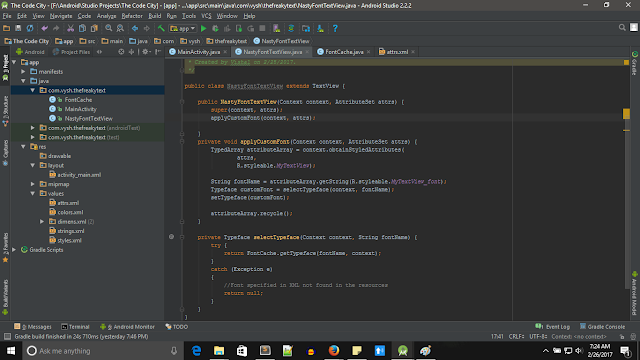
Now go back to our NastyFontTextView and use the default constructor. You can do it by pressing ALT+Enter.
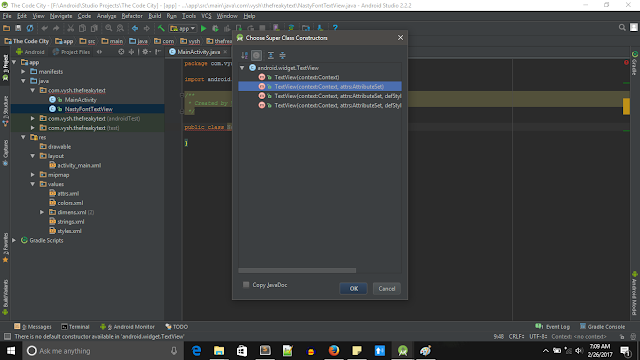
You will see a list of default constructor. Use the one with attributeSet.
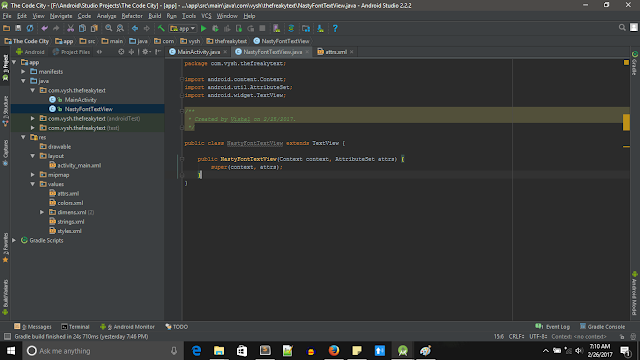
Once you have selected the default constructor with attribute set, you will see that the following lines of code are added.
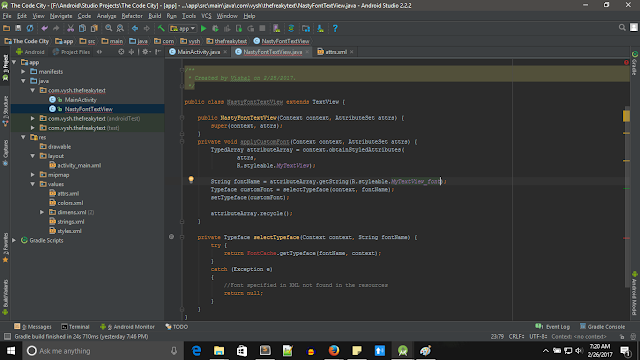
Now we need to get the font that the we have defined using the font property in XML and then we need to apply that font. We will use chooseFont and applyFont methods for that. Write the code seen below.
Note – You will see an Error in FontCache usage right now, as it’s not a predefined class. We will create it in the next step.
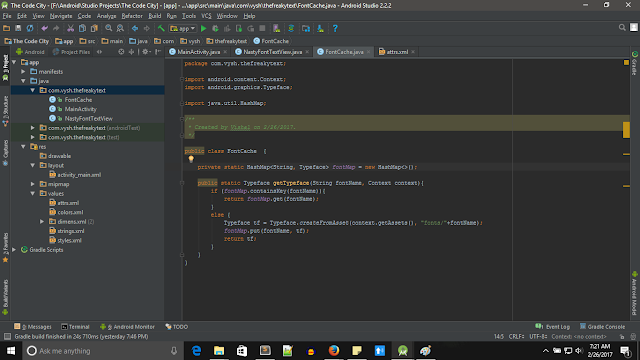
Loading the font whenever you require them again and again in as inefficient process. So if you’ve loaded a specific font already one, we will cache it so that is can be used quickly the next time. Create custom class for fontCaching call it FontCache.
Font cache is a simple class. It just loads the fonts from fonts folder inside the assets and stores it in a hashMap. Here is the complete code for FontCache Class.
Finally, we are done on the Java part. You will notice that the FontCache error is gone!
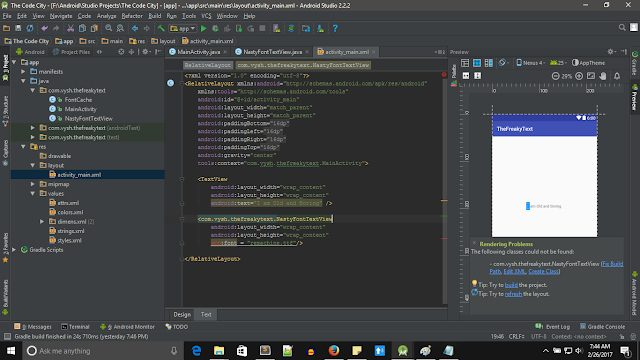
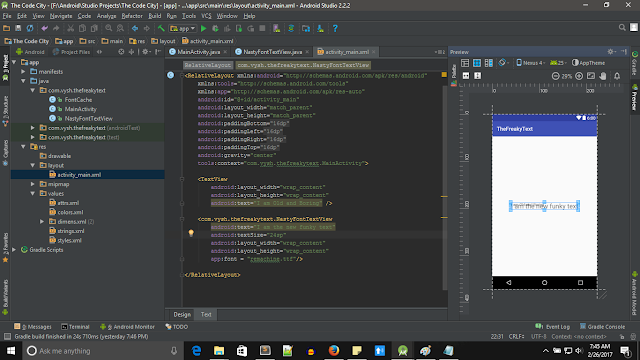
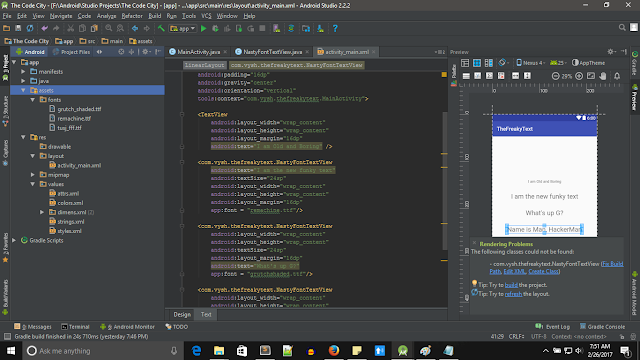
Now it’s the simple part. We just need to use the custom class we created, NastyFontTextView in our layout. Open activity_main and add a NastyFontTextView. It works as plain old textView till now. Add app:font to it and let the magic begin! You define your own font in this attribute.
Note : Your font must exist in the fonts folder inside assets folder.
You will see an error in app:font property, add xmlns:app name space to root layout and it will be gone. Press alt + enter and it will be added automatically. In the app:font property you can write any font name that you have copied in the fonts folder and it will be applied to that textView. Yesss!
We will add a few more textView so that we can demonstrate all the TextViews with different Fonts. You don’t need to do that but we will just because we can! 😀
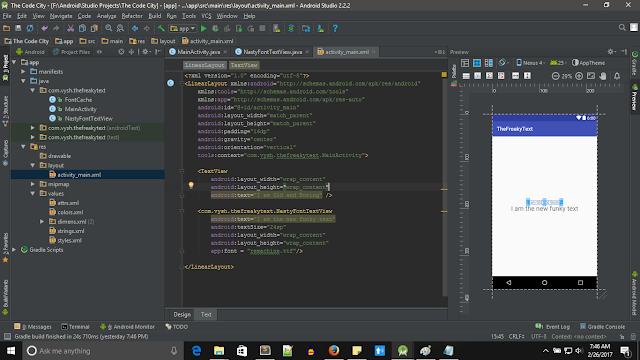
Change the root layout to linear layout as we won’t have to define alignment for all the TextViews.
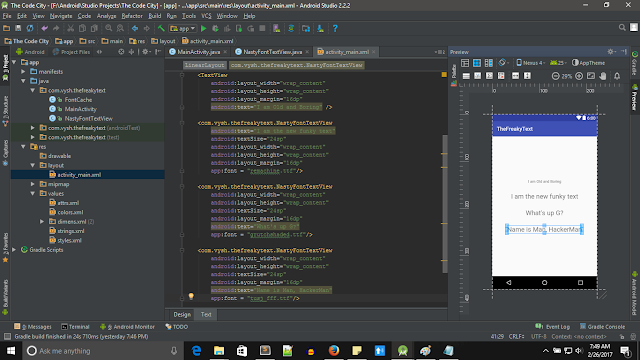
Add a new more NastyTextViews with fonts of your choice just as in the image below!
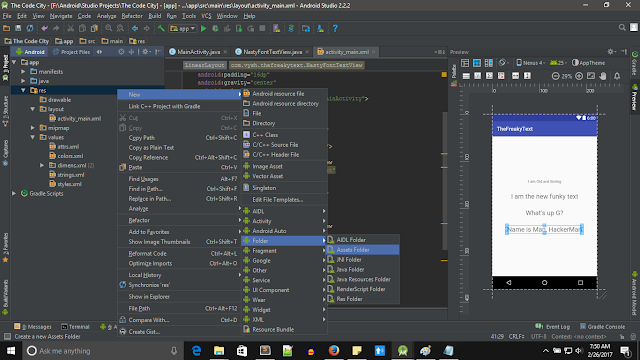
We have already done everything! we just need the TypeFace in the fonts folder. You can copy any typeface just Google and download if you haven’t already decided on a sexy font yet! To create assets folder do this : right click on res->new->folder->Assets folder. Now go to assets folder and create fonts folder inside it and copy your fonts in it.
Here’s the fonts that I’ve added inside my fonts folder.So we’ve learned how to create a custom class extending TextView that can be easily used in the XML and we can change font now with just one line of code! Bravo, go party unless you have any doubts, if you have drop them in the comments and I will try to answer it asap. Cheers!
Source Code : Download Custom Font App for Android



Impressive and powerful suggestion by the author of this blog are really helpful to me. Small Text Generator