
Visual Studio Code (VS Code) is a powerful, open-source code editor that supports multiple programming languages, including Python. In this guide, we will walk through the steps to create your first Python project in VS Code, covering everything from installation to running your code. Let’s dive in!
Setting Up Your Environment
The first step to creating a Python project in Visual Studio Code is to ensure you have the right environment set up. This involves installing Python and the necessary extensions in VS Code.
Installing Python
To run Python code, you need to have Python installed on your machine. Follow these steps:
- Visit the official Python website.
- Download the latest version of Python for your operating system.
- Follow the installation instructions provided on the website.

Installing Visual Studio Code
If you haven’t installed Visual Studio Code yet, you can download it from the official VS Code website. Follow the installation prompts for your operating system.
Creating Your Project Folder
Once you have Python and VS Code installed, you can start creating your Python project.
- Open Visual Studio Code.
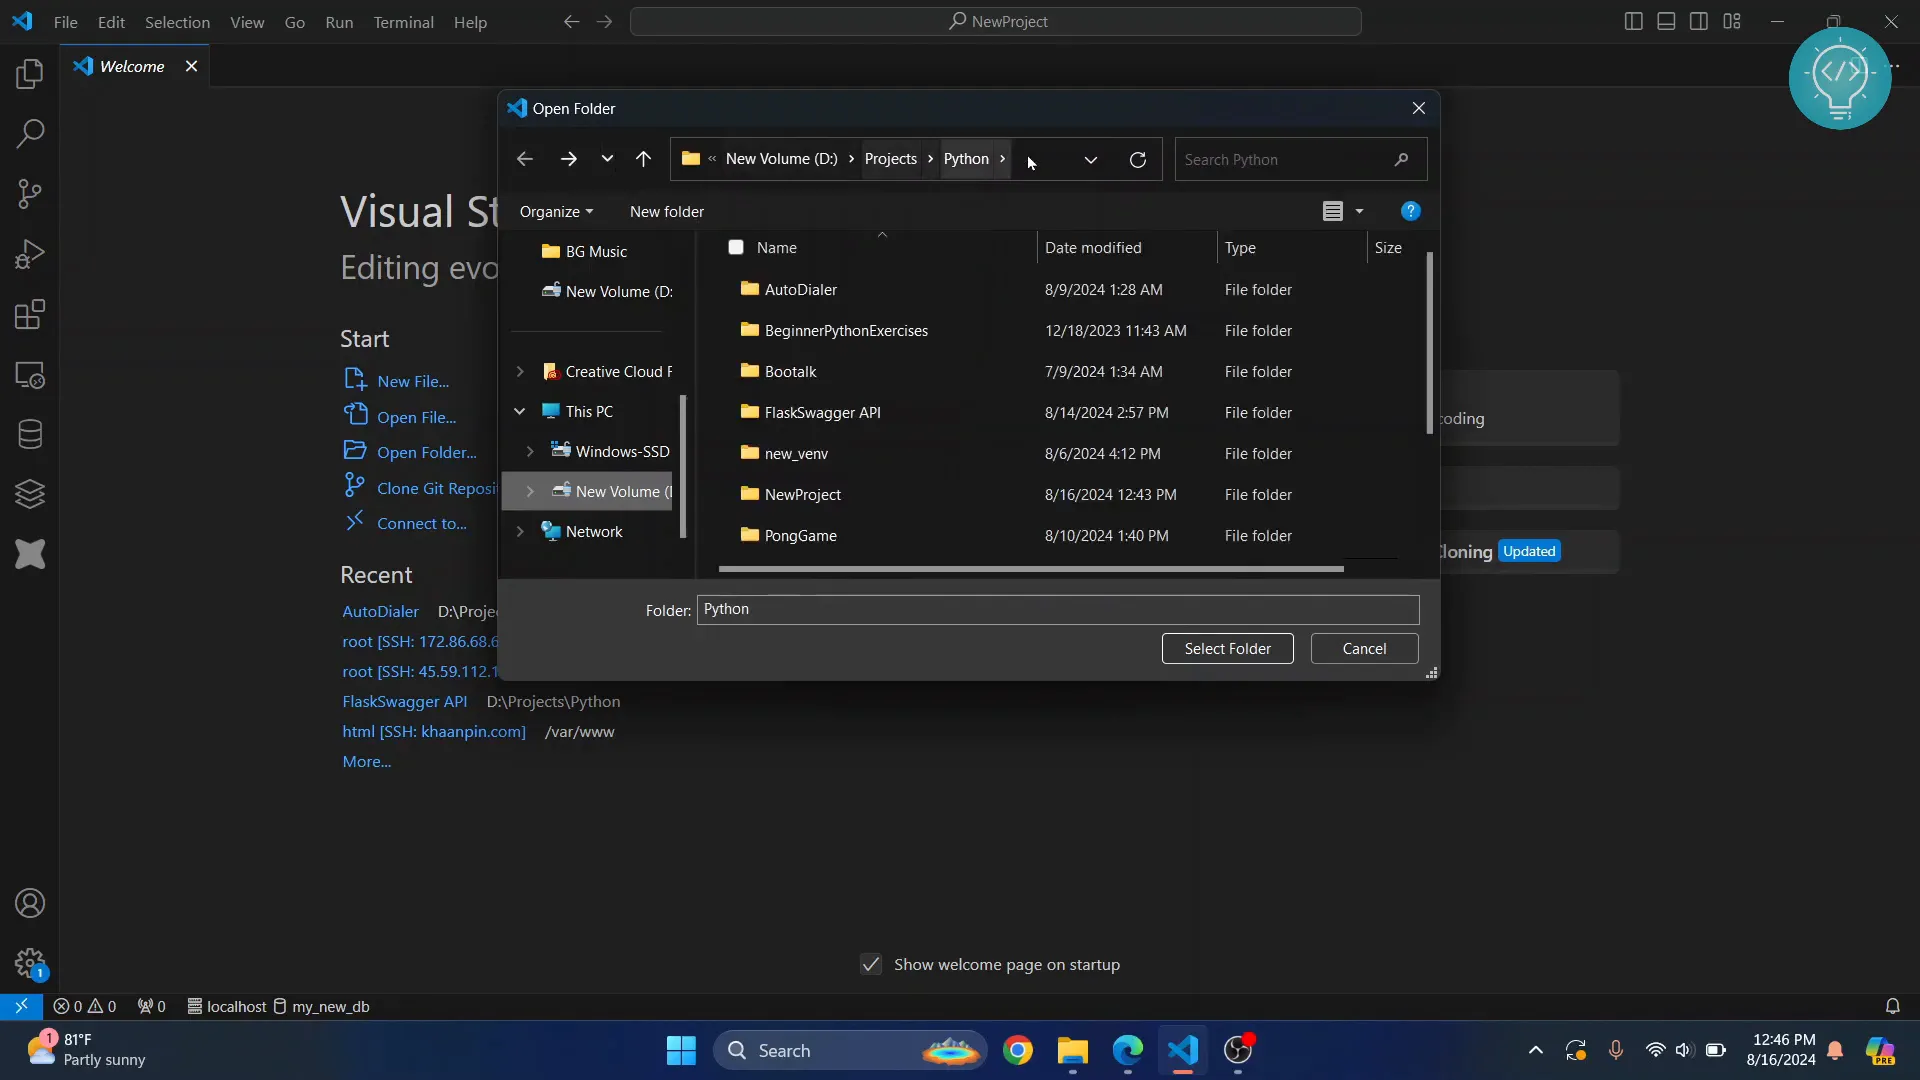
- Click on the Open Folder button or go to File > Open Folder.
- Create a new folder for your project, for example, my_first_py_project, and select it.
Creating Your First Python File
Now that your project folder is set up, let’s create a Python file.
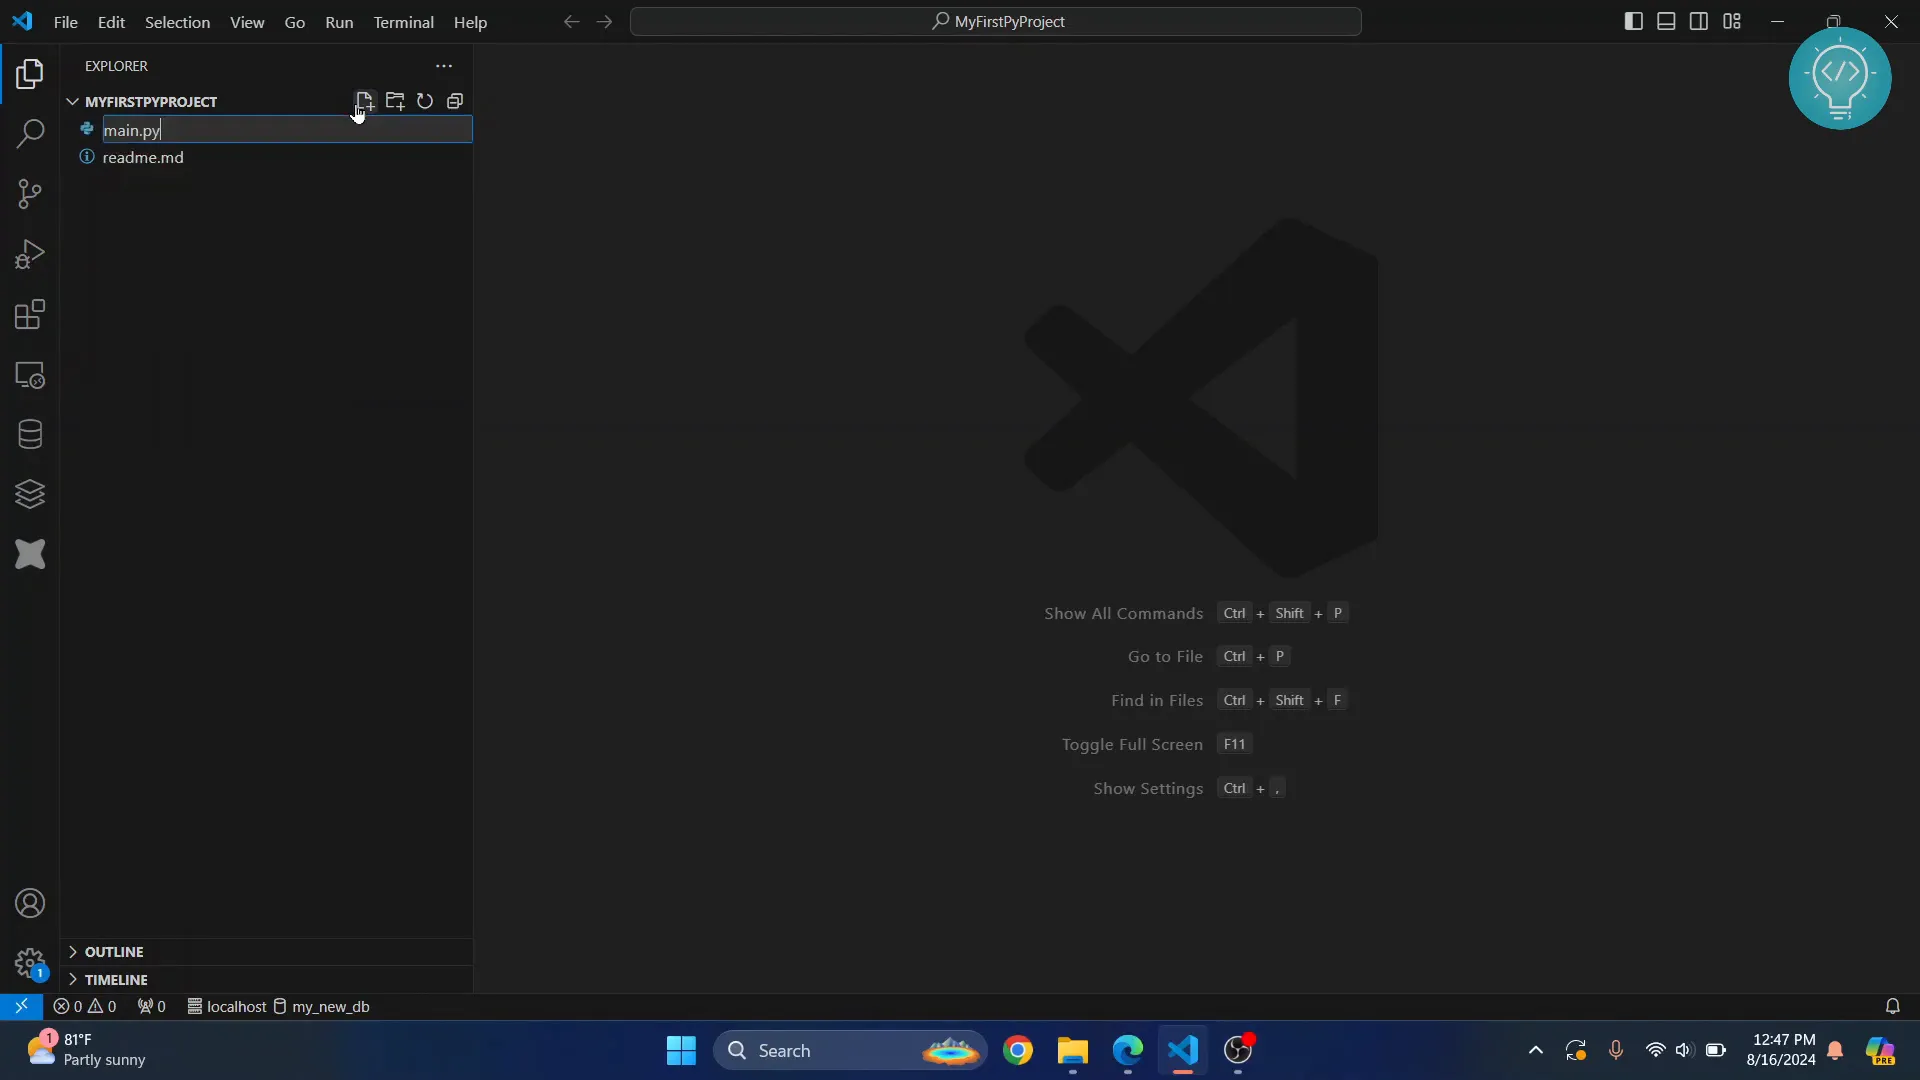
- In the Explorer view, right-click on your project folder and select New File.
- Name your file main.py.
Writing Your First Python Code
Open your main.py file and type the following code:
print("Hello, World!")To save your file, press Ctrl + S.
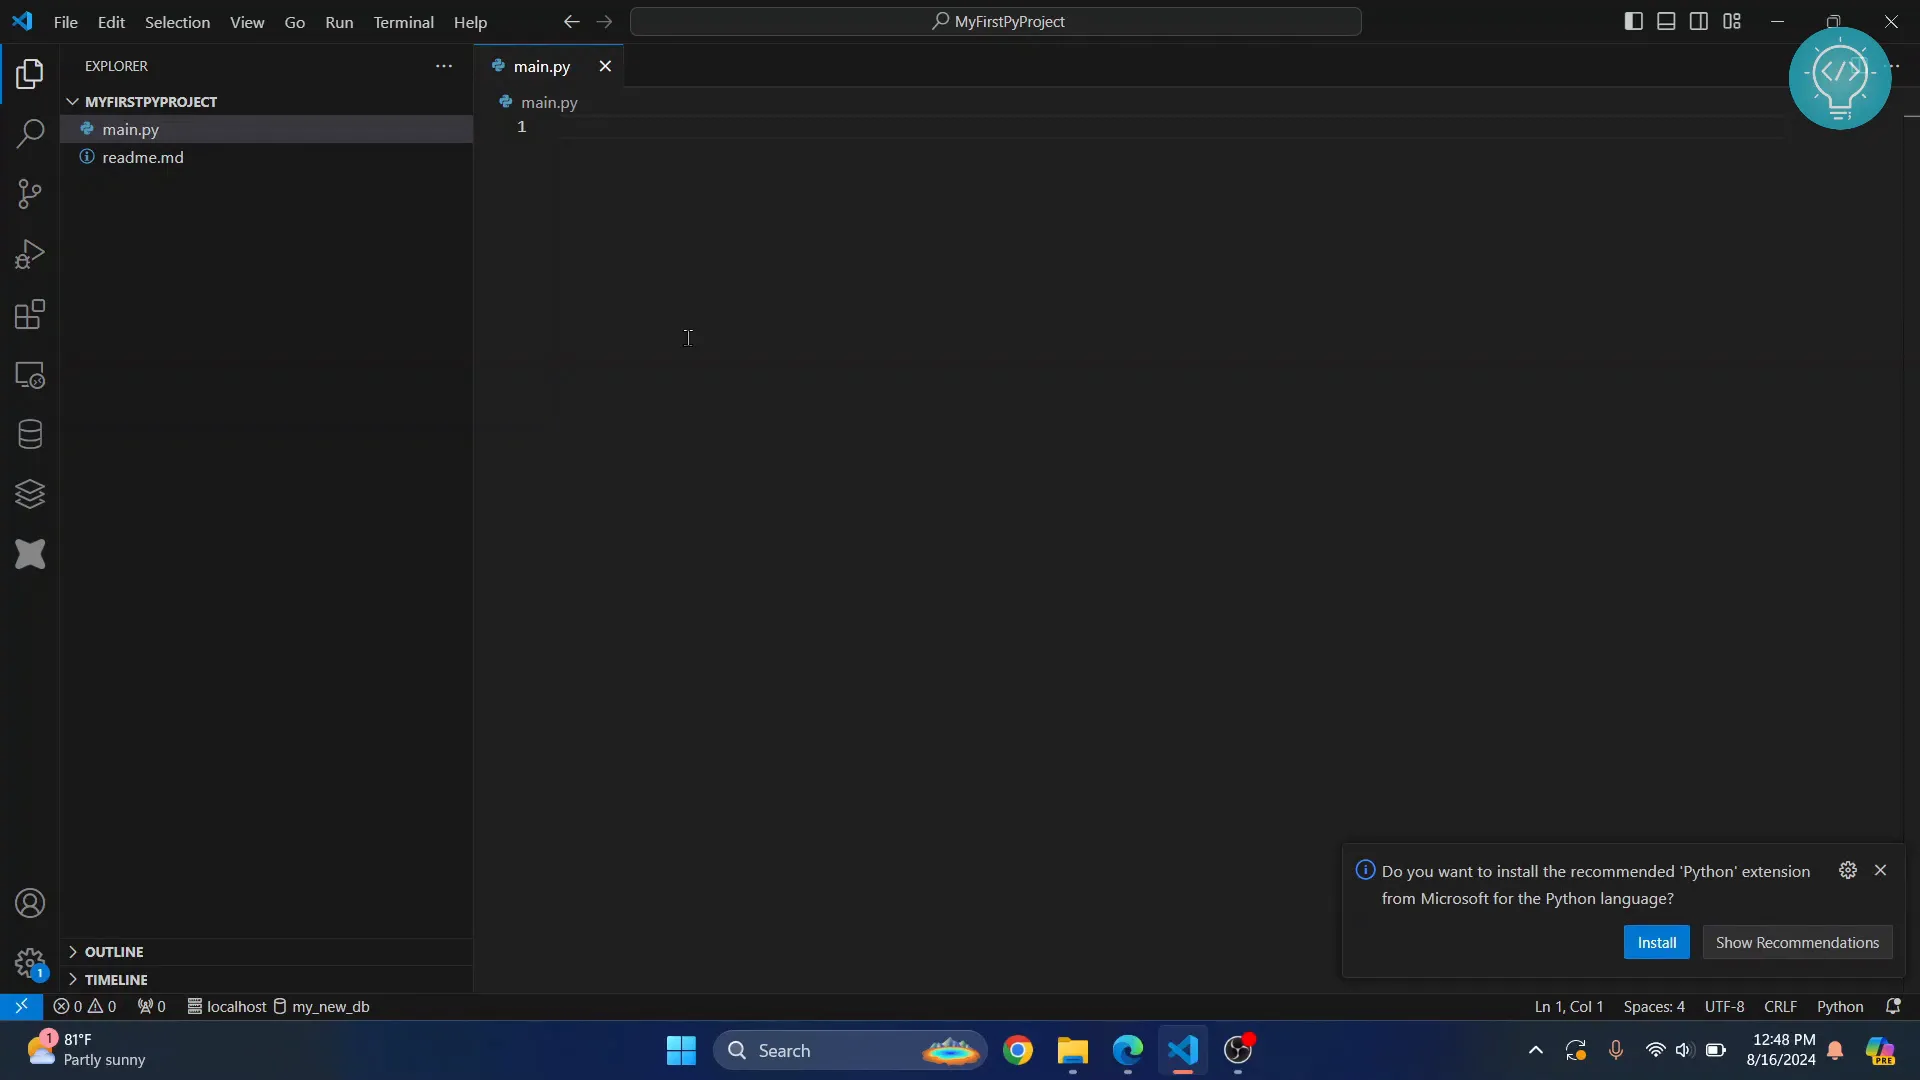
Installing the Python Extension
To effectively run and debug Python code in VS Code, you need to install the Python extension provided by Microsoft.
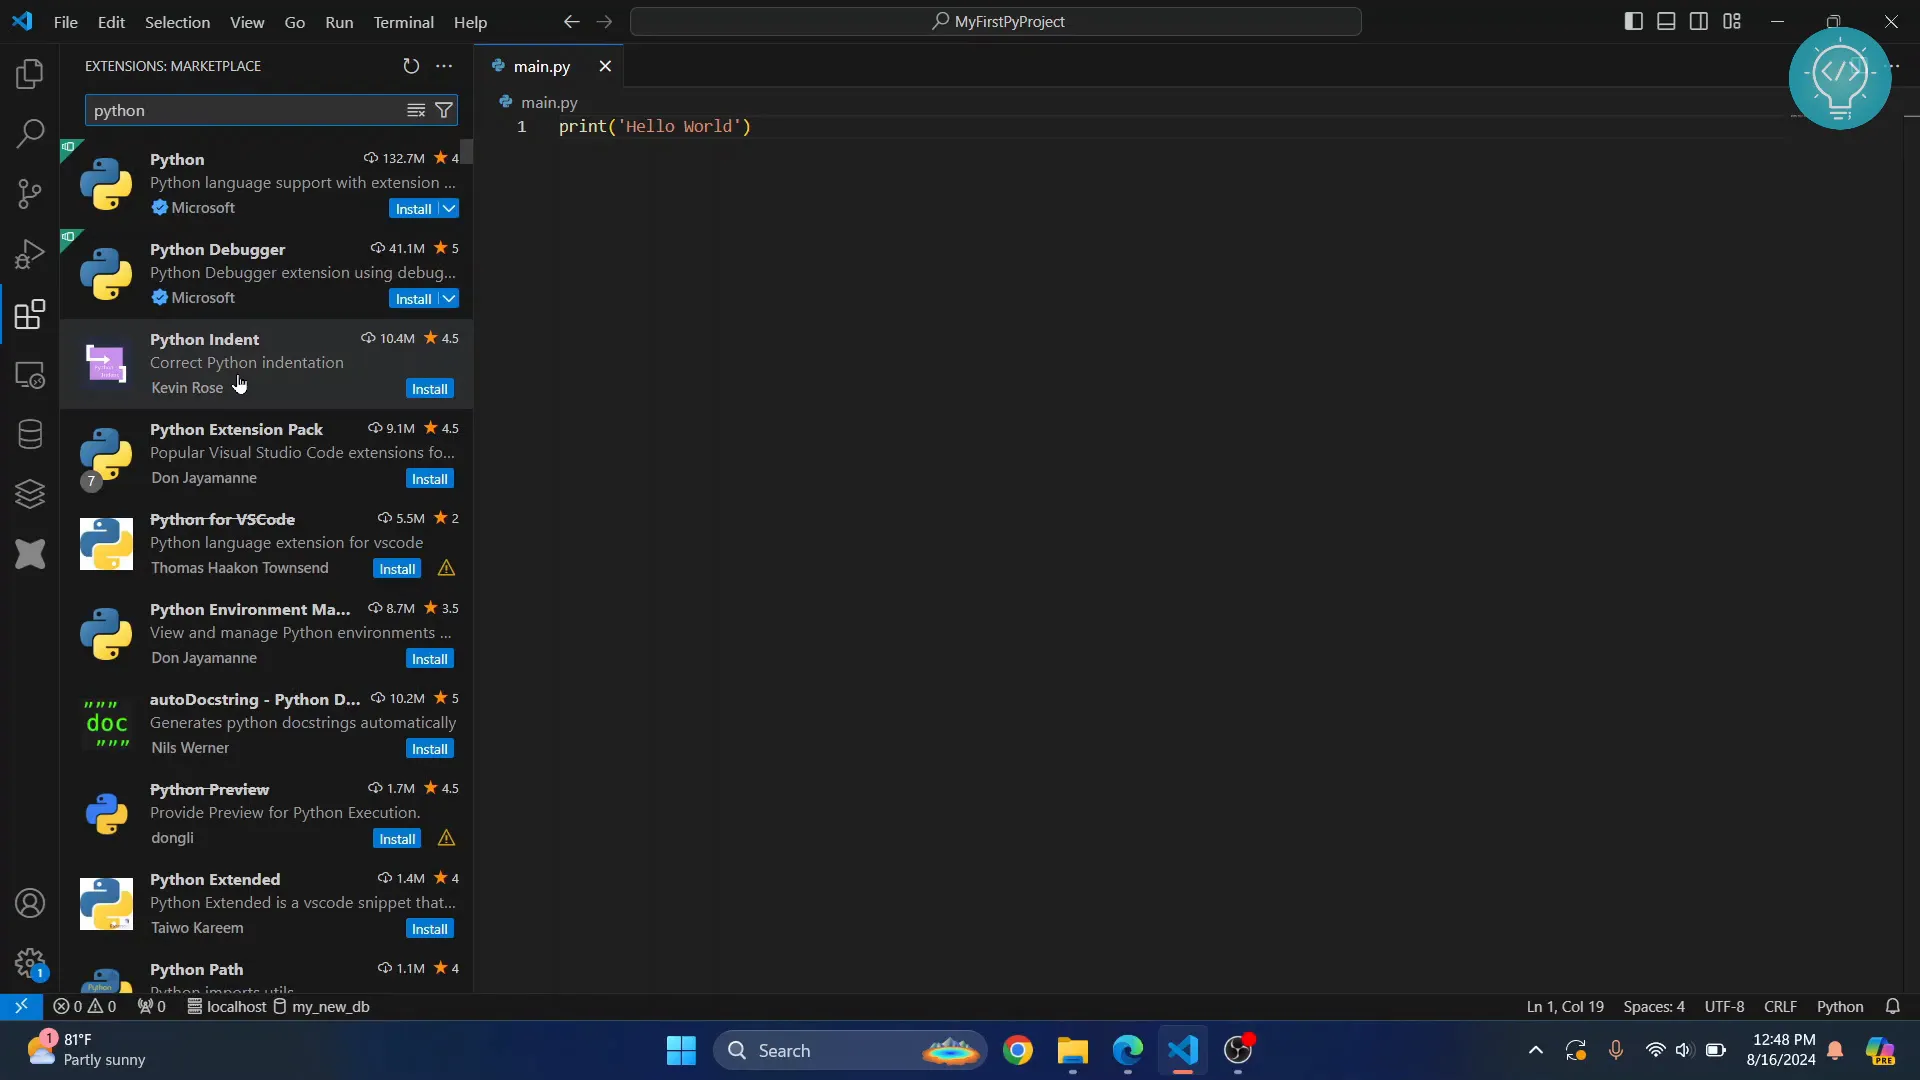
- Click on the Extensions icon in the Activity Bar on the side of the window or press Ctrl + Shift + X.
- Search for “Python” in the Extensions Marketplace.
- Click on the Python extension by Microsoft and then click Install.
Running Your Python Code
Once the extension is installed, you can run your Python code directly from VS Code.
-
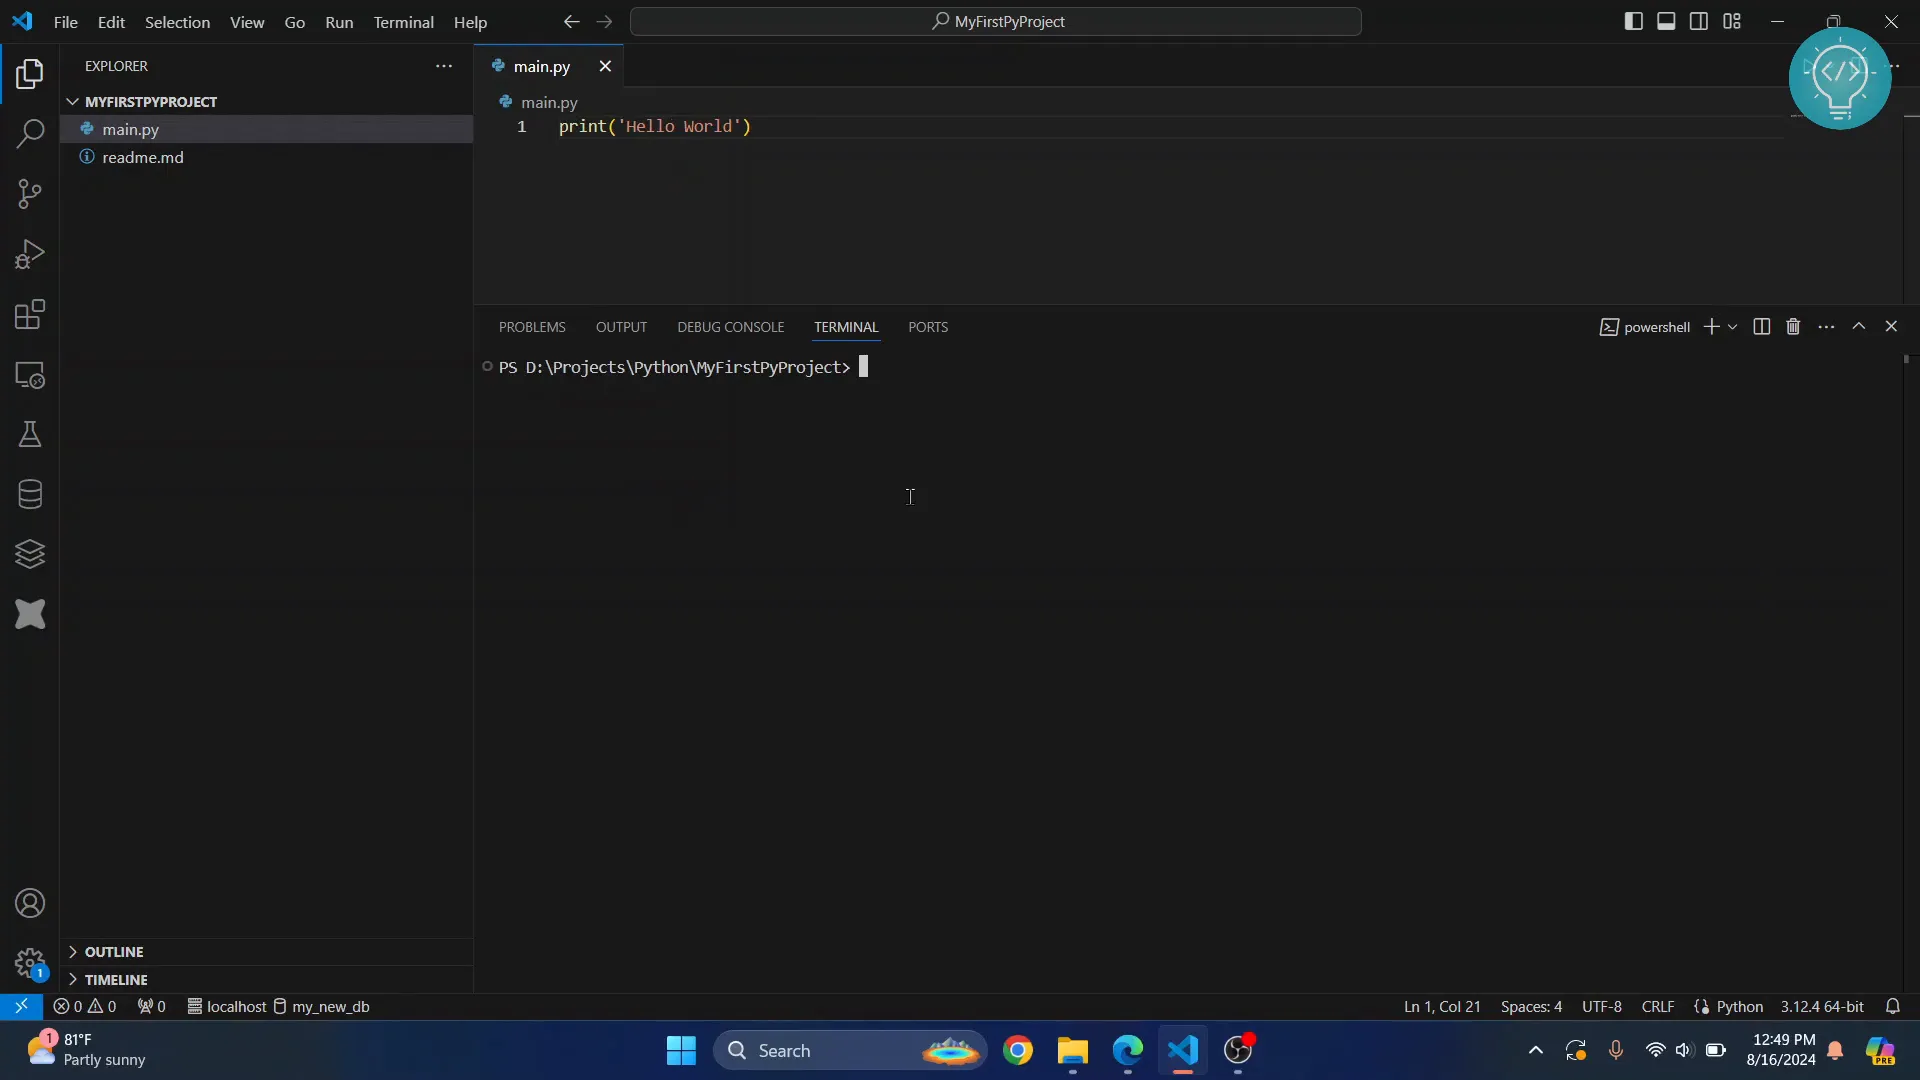
- Open the terminal by going to Terminal > New Terminal.
- In the terminal, type the following command to run your Python file:
python main.pyThis command will execute your script, and you should see “Hello, World!” printed in the terminal.
Using the Run Button
To make running your code even easier, you can use the run button that appears in the top right corner of the editor once the Python extension is installed.
Simply click the play button (run button) to execute your code without opening the terminal manually.
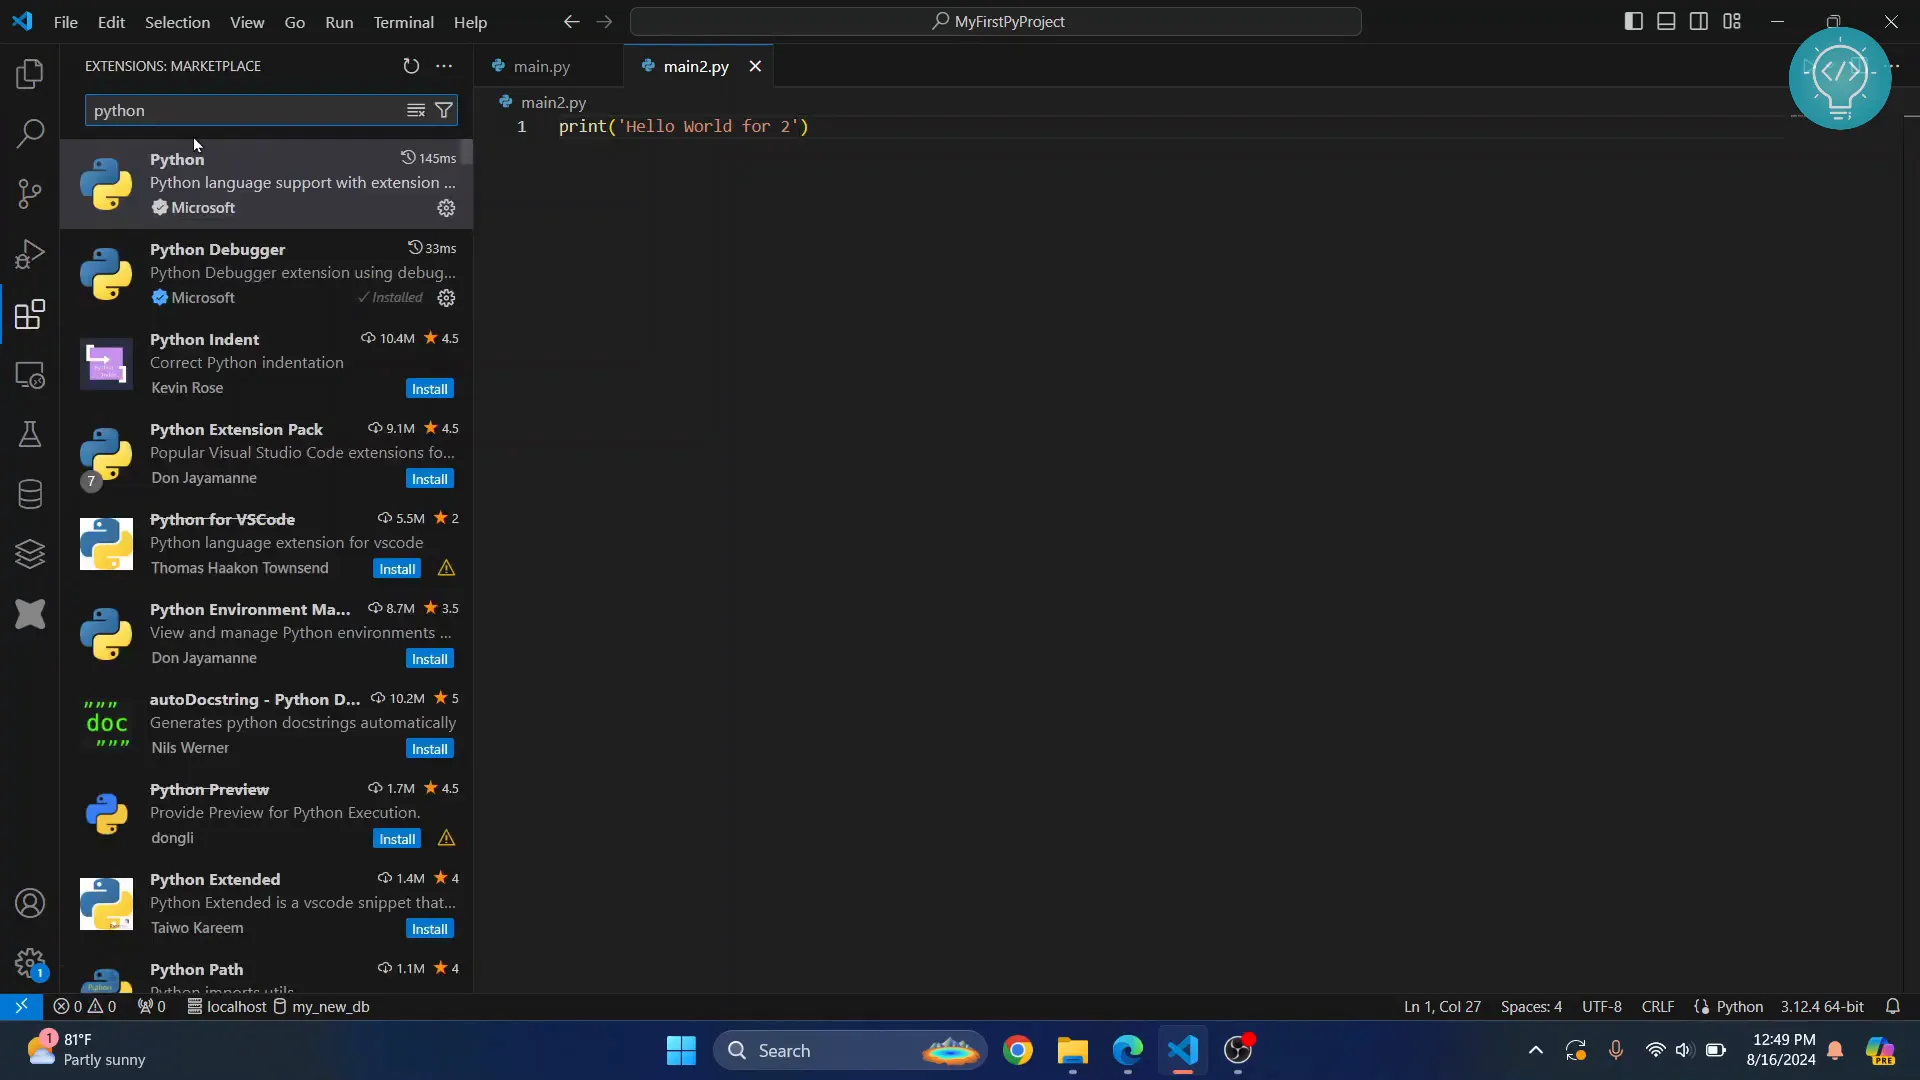
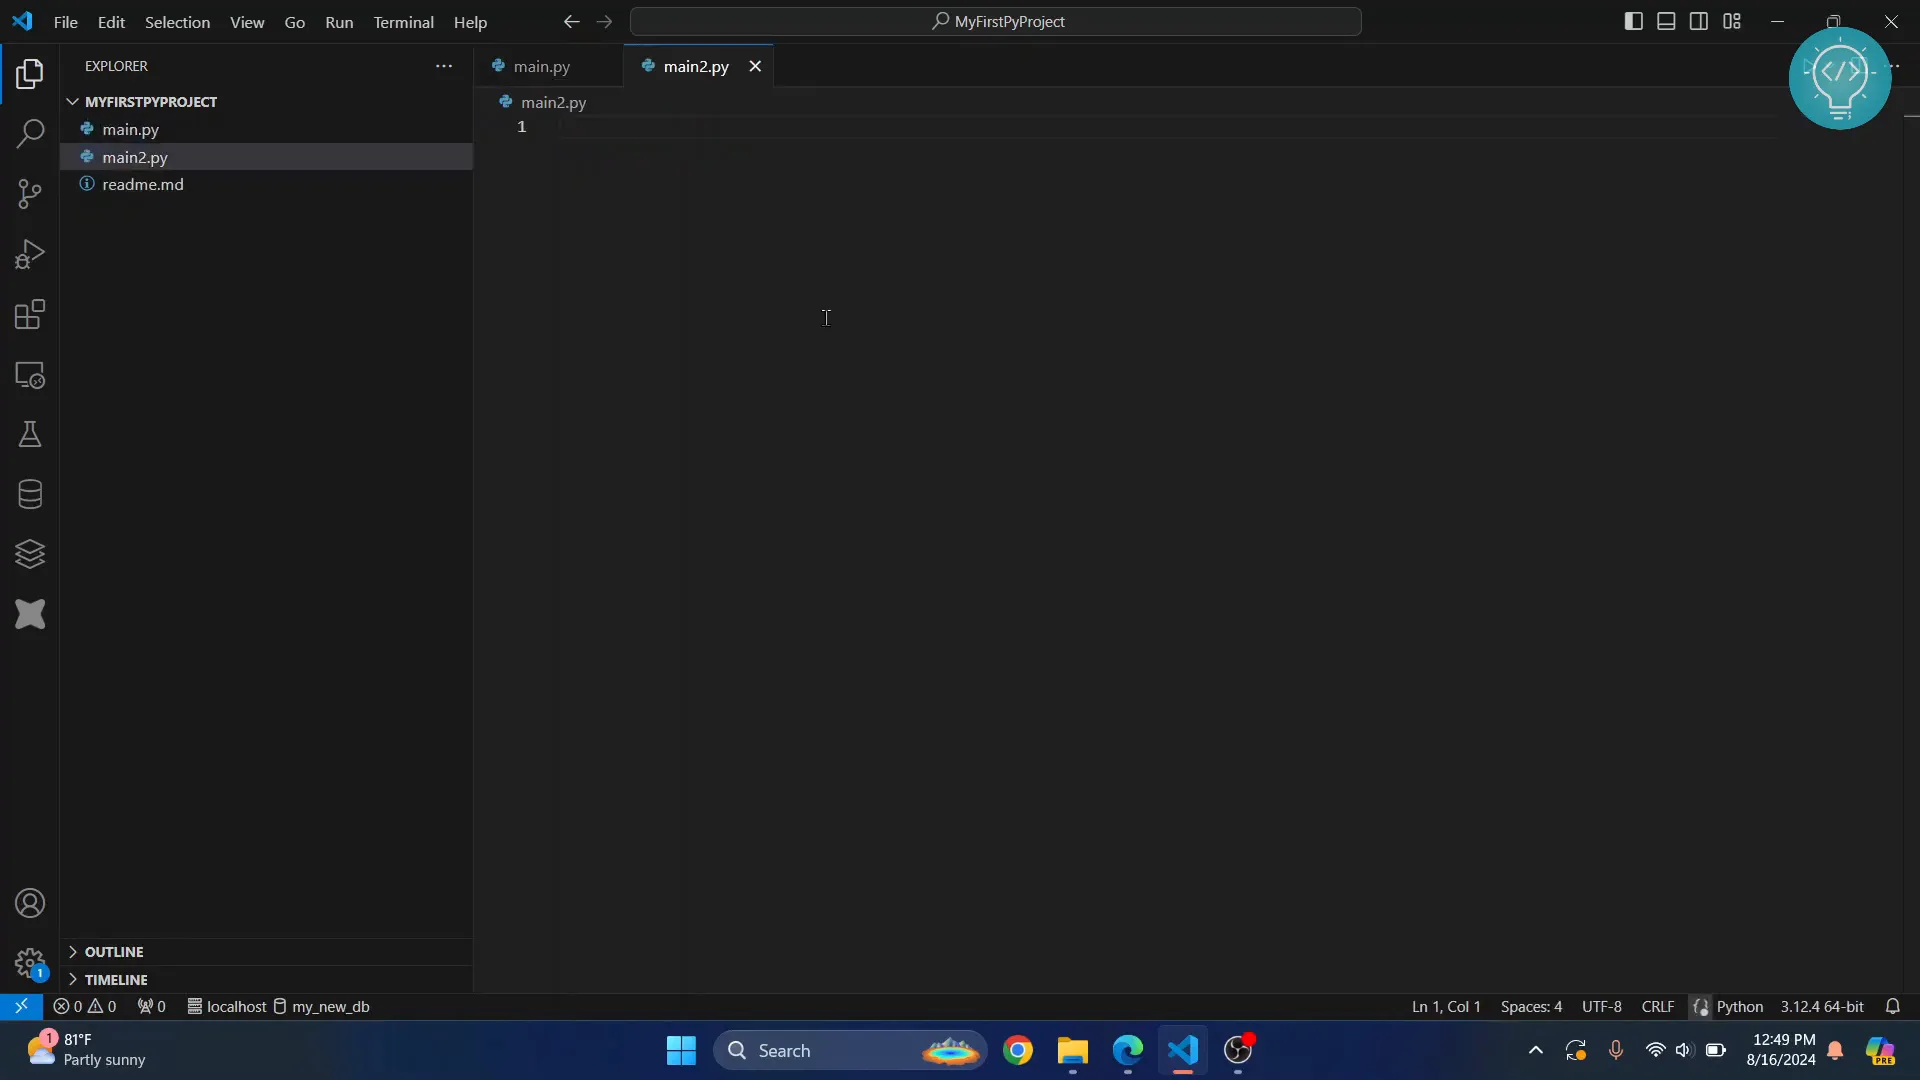
Creating Additional Python Files
As you expand your project, you may want to create additional Python files. You can repeat the steps to create a new file, for example, main2.py, and write a simple print statement:
print("Hello from main2!")Run it the same way you did with main.py.
Conclusion
Congratulations! You’ve successfully set up your first Python project in Visual Studio Code. You learned how to create a project folder, write Python code, install necessary extensions, and run your code efficiently. If you have any questions, feel free to leave them in the comments below!
For more tutorials and resources, you can check out supporting my work or visit my YouTube channel