

In the dynamic world of data science and programming, having a robust and user-friendly platform for managing packages and environments is most important. Anaconda, a popular open-source distribution, emerges as a powerful ally, simplifying the complexities of package management, data analysis, and machine learning.
When coupled with Jupyter Notebook, an interactive web-based application, it creates an unparalleled environment for developing, documenting, and sharing code.
If you’re a visual learner , here is the full tutorial video for you:

Now lets explore the journey of installing Anaconda and Jupyter notebook in windows 11.
Install Anaconda
We first install Anaconda in our computer. To install it , go to any browser and type anaconda download. To Download , go to the link: Anaconda
Follow the steps below for further installation process.
Download Anaconda
Click on the ‘download’ in the download page of anaconda .


Once it is downloaded, you’ll get to see the downloaded file on your screen as shown in the image below:

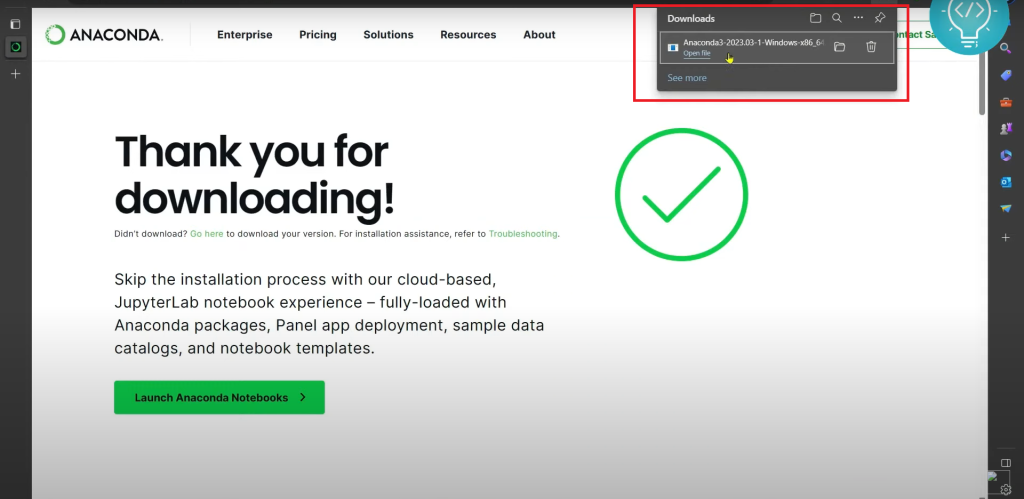
You can open it by clicking on the folder icon or by clicking on the ” open file” there.
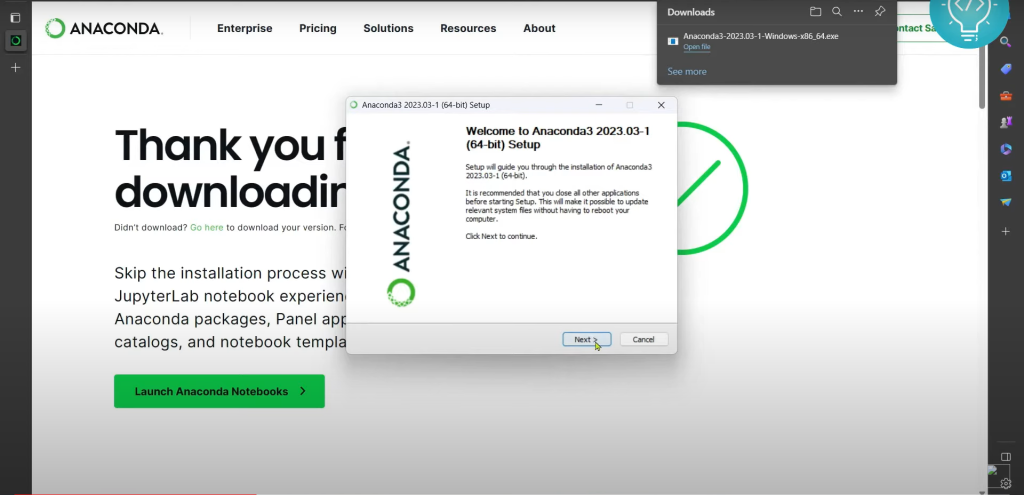
Now, double click on the file that you’ve downloaded and there you’ll get the installation set up as shown in the image below:

Getting Sarted With Installation
Now , its time to install the file that you’ve downloaded. Click on the ‘Next’ as shown in the image above. Now to install Anaconda , follow the steps below:
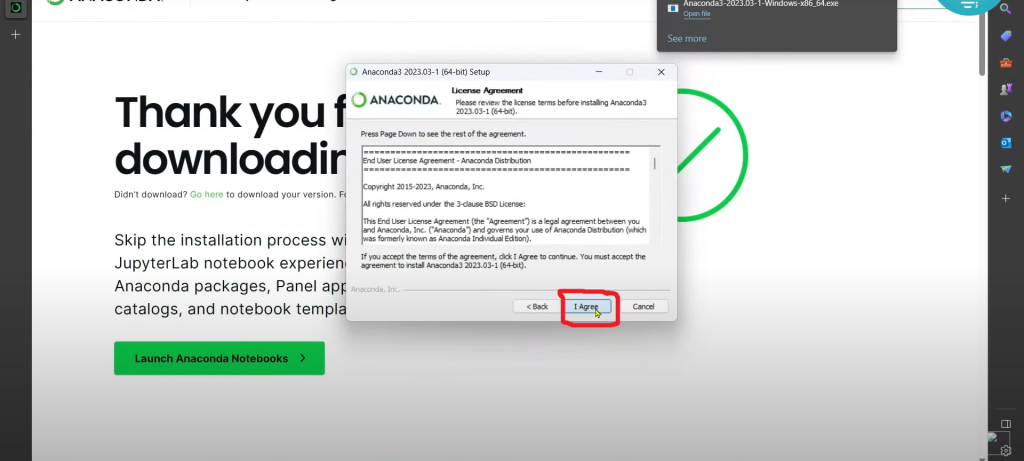
- Agree to the License Agreement
Here you click on the ‘agree’ for the further process. This is the license agreement between costumer and the company for the use of software you’re trying to install.

- Select the Installation type

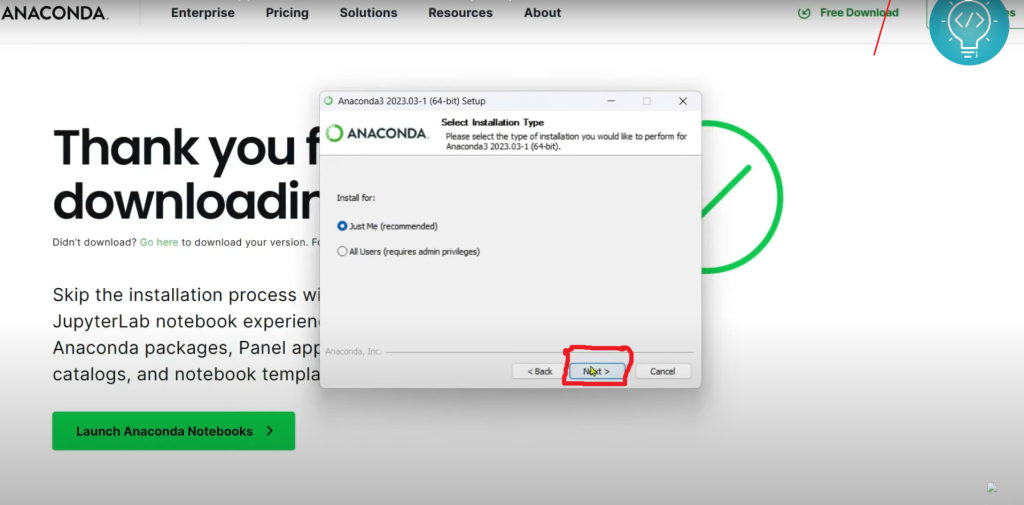
You can either select ‘Just Me’ or ‘All Users’ for the installation type. If you select ‘Just Me’ then you’ll only get to see it on the account you’re currently logged . If you select ‘All Users’ you can see it for any Users Account .
After selecting the Installation Type click on ‘next’ for further installation process.
- Choose Installation Location

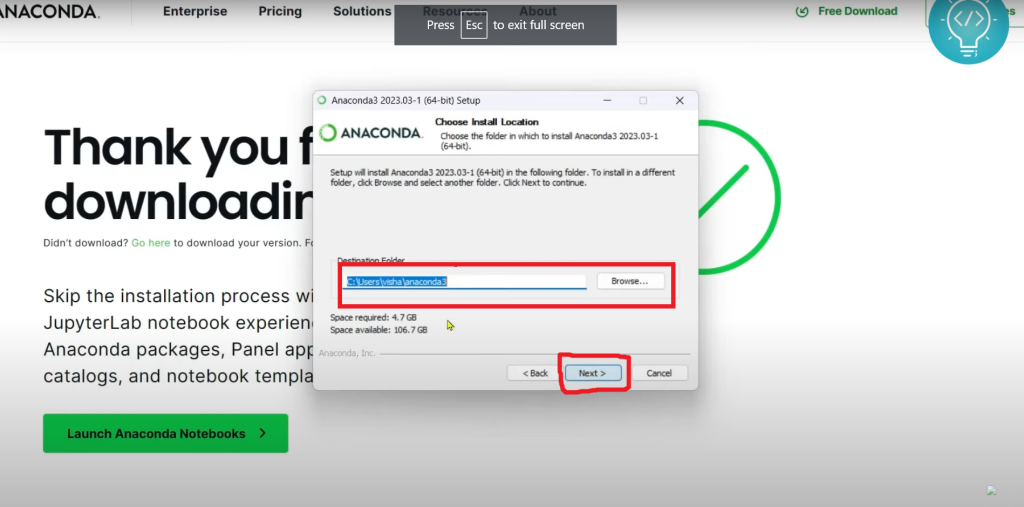
You can change the directory for the installation if needed and click on the ‘Next’ to go forward in this process.
- Advanced Installation Option


You can leave the remaining as uncheck and click on “install” .
It’ll finally install the anaconda for you as shown below:

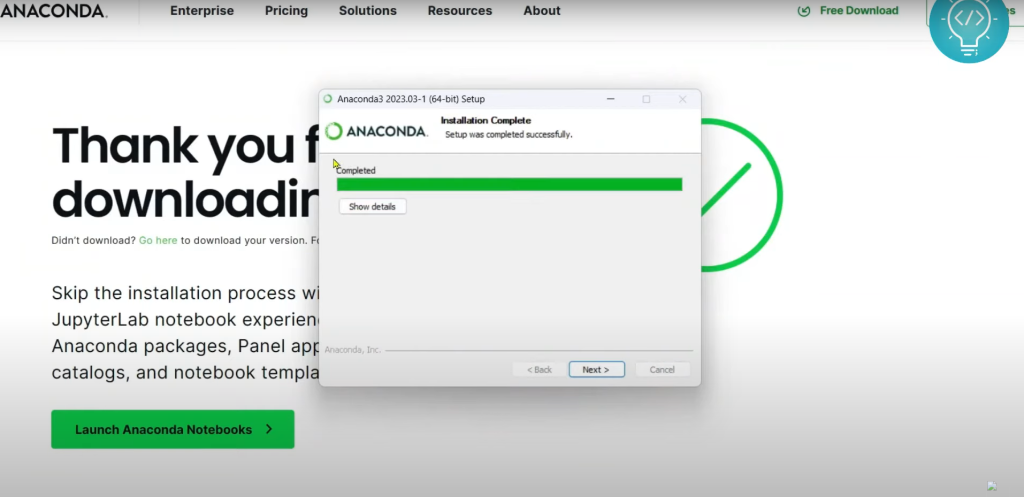
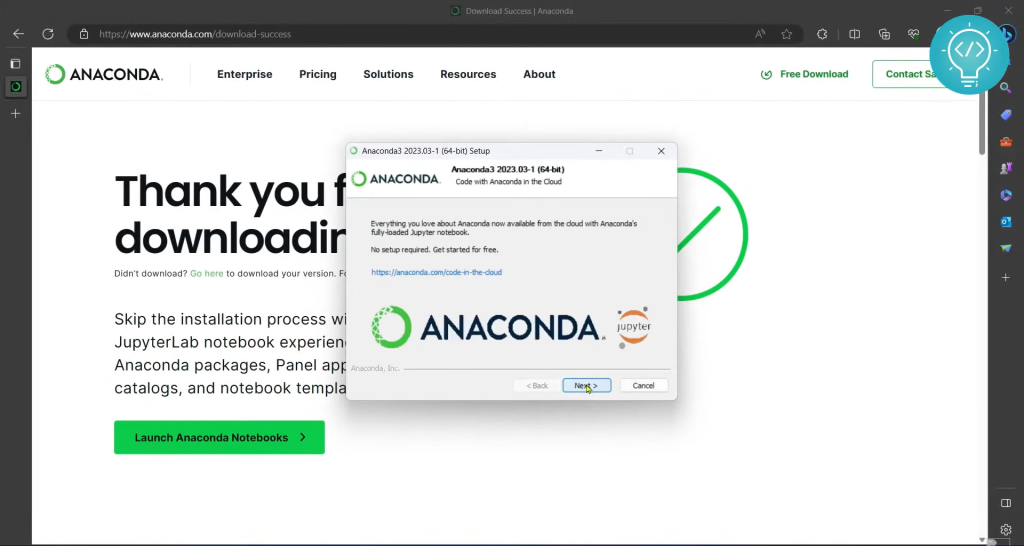
Once the installation is completed , click on ‘Next’ again for the final touches.
Then after you’ll get the recommendation to install

- Completing Installation

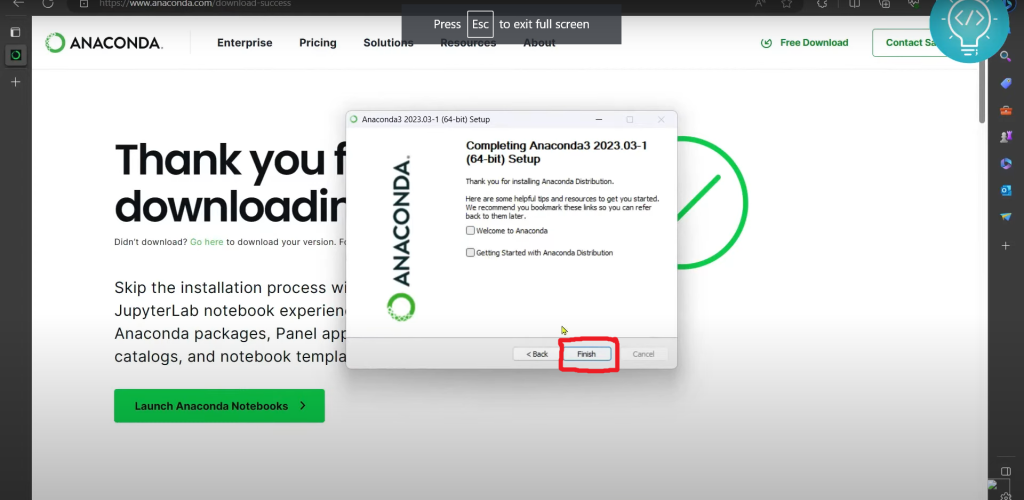
Now the installation is completed and its time to launch jupyter notebook in Anaconda .
Launch Jupyter Notebook
Jupyter notebook opens up a versatile and interactive environment for the data exploration, analysis and visualization.
To launch Jupyter Notebook, follow the steps below:
- Search for Anaconda in start menu
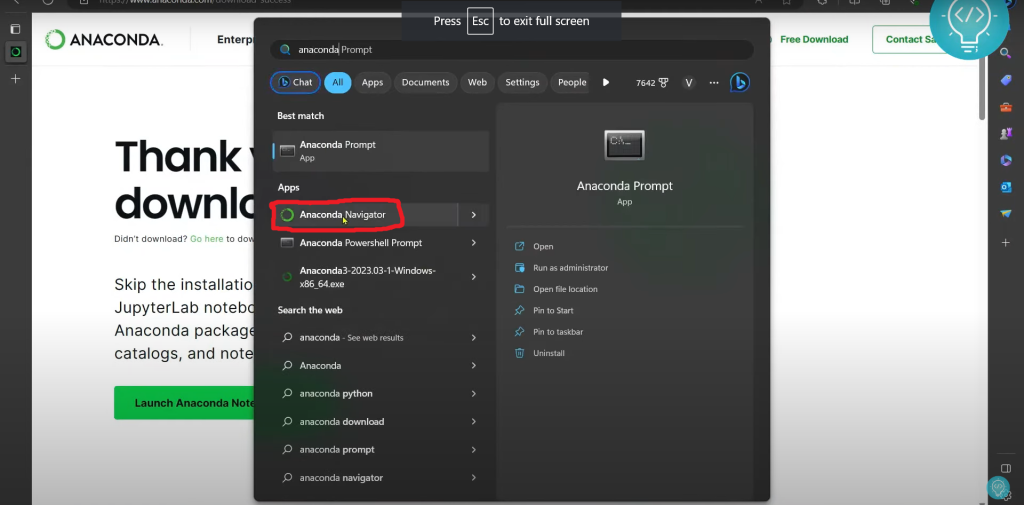
Click on the Anaconda Naigator as shown in the image above. It’ll open a command prompt and take some time ,be patient with this.
Now, it’ll install the anaconda completely , and after this you can launch the Jupyter in anaconda navigator.
- Launch Jupyter Notebook
It’ll open anaconda navigator and there you can see may different options there, click ‘launch’ in jupyter to launch it, as shown in the image below:

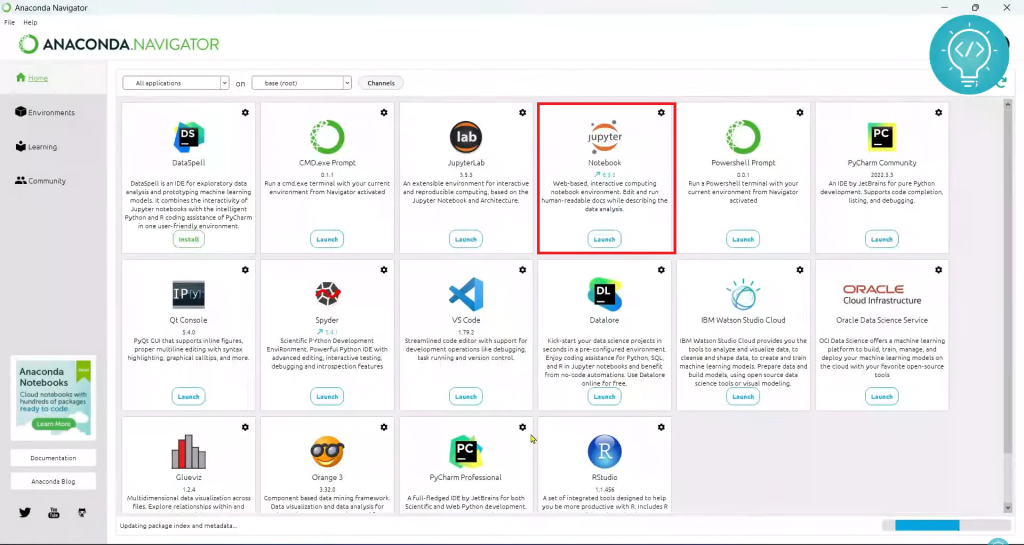
As soon as jupyter is launched , it’ll open Jupyter notebook for you as shown in the image:
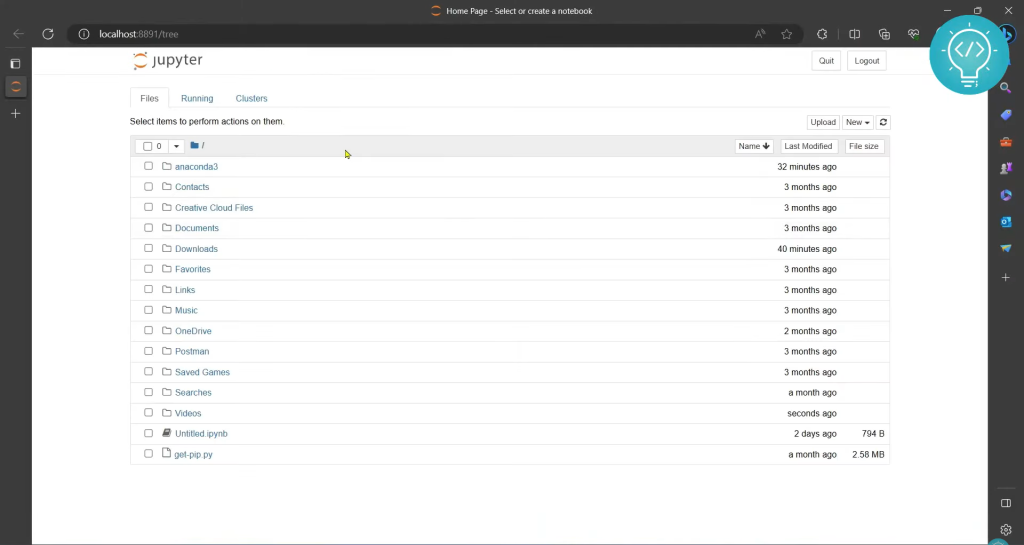
From here, you can create Jupyter lab notebook in any of the folder .
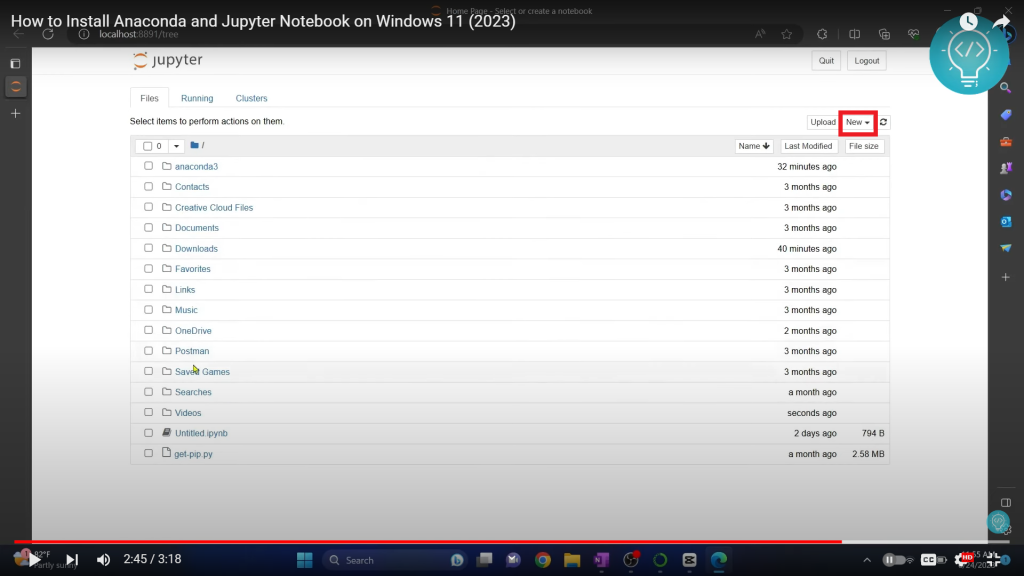
Create JupyterLab Notebook
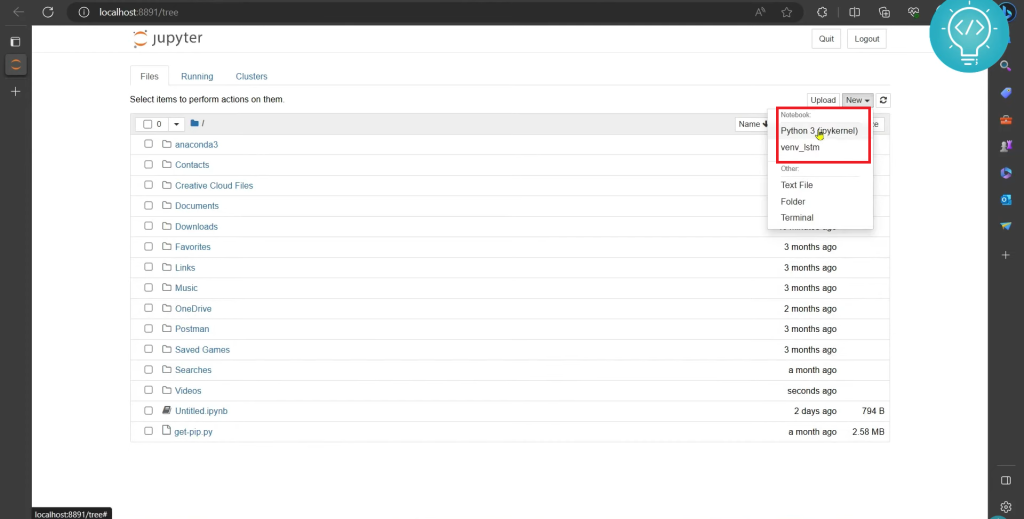
To create new Jupyterlab notebook click on the ‘New’ as shown in the image below:

And after clicking on new , select which kernel you want to use. we can see the options as shown in the image:

After selecting the kernel you want to use , it’ll open a jupyter notebook with the empty code cell as shown below :

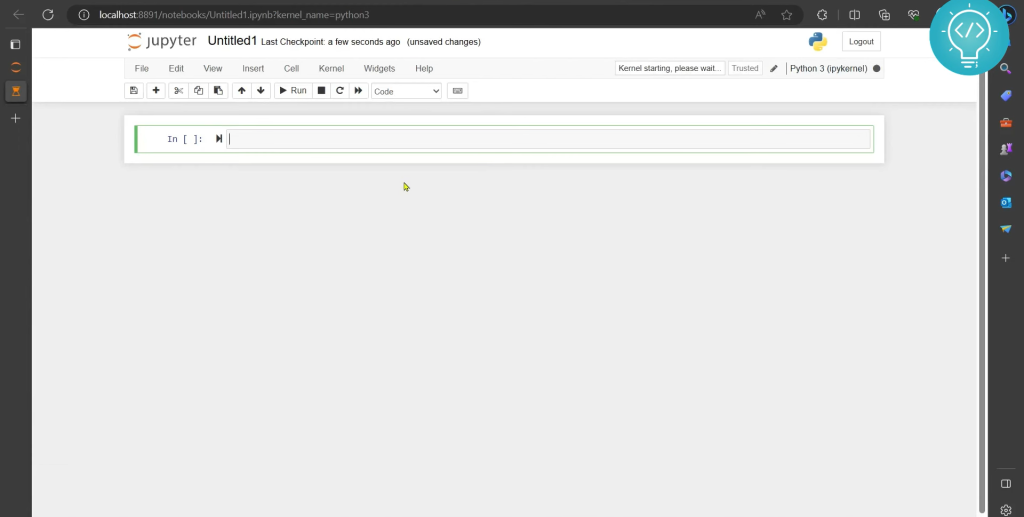
You can now write a python code to test if it is working or not. For example:
print ("Hello World")If it is working , you’ll get the output as Hello Word .
You can run this by pressing Ctrl+Enter keys.
Finally, its all done here , you are ready to begin the journey of interactive coding , data exploration in Jupyter Notebook .
You may also like: Kernel to Virtiual environment in Jupyter
Hopefully, you enjoyed the tutorial and installed anaconda and jupyter successfully. Happy coding!!!!
Conclusion-Install Anaconda and Jupyter Notebook
In this blog , we installed Anaconda in windows and Launched Jupyter Notebook . At first, we installed Anaconda and then we launched the Jupyter Notebook from the Anaconda Navigator. We created New Jupyter Notebook and tested if it is working or not with python code. If you encounter problem while installing, let me know in the comment below.